
In the ancient days, the linga (idol or phallic symbol) of the Lord Shiva in the main temple at Shri Kalahasti was said to be worshipped by a spider named Sri, a serpent named Kala and an elephant named Hasti. The spider worshipped Shiva by spinning a web to protect it from the hot sun. The serpent by placing a gem over it and the elephant by washing it with its trunk. The three are said to have attained salvation by these devotions to Shiva. The marks of the three devotees are still pointed out in the main temple. The three names together form the name Sri Kalahasti, a town in the South Indian state of Andhra Pradesh.

Shiva Temple beside the Swarnamukhi River


The temple to Lord Shiva is located in between two steep hills. These hills are said to have been formed from part of Mt. Meru (the Mt. Olympus of Indian gods). As a result of an angry quarrel between the serpent god Adishisa and Vaya the god of the air, three chips separated themselves from MT. Meru and fell in different places in India. Sri Kalahasti is one of those chips and the area is thought to be a holy place because of it.
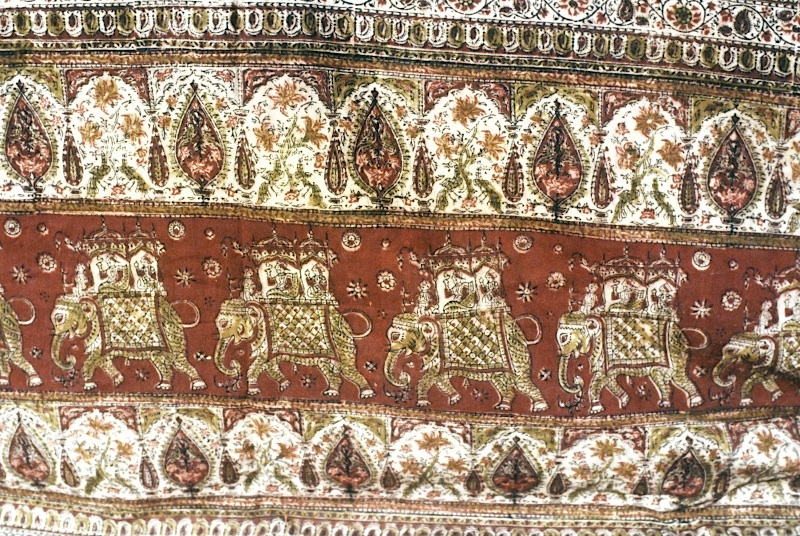
Sri Kalahasti is not only famous for its temple but also for its dyed kalamkari. Kalamkari are naturally dyed, hand painted fabrics that are richly decorated with stylized figures and decorative elements. The subjects are the colorful myths of the Telegu language of Sri Kalahasti, the epics of the Ramayana and Mahabarata.

Krishna on his chariot with Arjuna as his passenger from the Bhagavad Gita
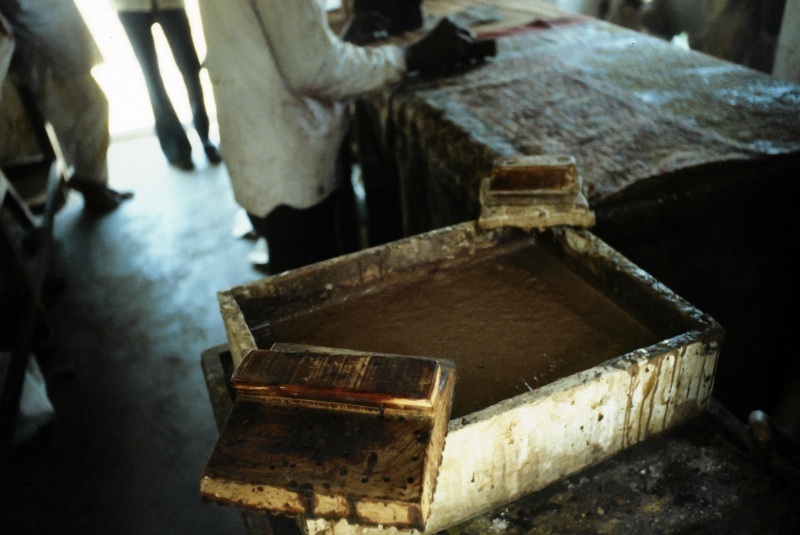
This method of putting mordant on cloth, then painting or printing dye and resist onto cotton has been practiced in India for centuries. It is believed that the cloths were popular with the ancient Greeks before Christ. Samples of this type of decorated fabric have been found in Fustat, Egypt from the 12th and 13th centuries and as far as Japan from the Nara period (649-794).

Krishna on his chariot with Arjuna as his passenger from the Bhagavad Gita
This method of putting mordant on cloth, then painting or printing dye and resist onto cotton has been practiced in India for centuries. It is believed that the cloths were popular with the ancient Greeks before Christ. Samples of this type of decorated fabric have been found in Fustat, Egypt from the 12th and 13th centuries and as far as Japan from the Nara period (649-794).
From the Middle Ages the south-east coast of india has been known for its beautiful cloth. It is thought that extensive trade and contact with Persia resulted in many technical and design influences. The word kalamkari is Persian. Kalam means pen and kari means work.
Trade links during that time also popularized the word chinz to describe them. Chintz is a Sanscrit word meaning spotted or bright and was used to describe the block printed cloths.
Kalamkari was used to describe the painted techniques. In the 15th century the Mughals used the painted and block printed fabrics for tents, floor cloths, palampores used for hangings snd bed cloths, screens, canopies, cushions and bolster covers. Persian and Indian paintings depict evidence of this type of fabric.
 Palampore of the tree of life

Aurangzeb holds court, as painted by (perhaps) Bichitr;

Kalamkari was used to describe the painted techniques. In the 15th century the Mughals used the painted and block printed fabrics for tents, floor cloths, palampores used for hangings snd bed cloths, screens, canopies, cushions and bolster covers. Persian and Indian paintings depict evidence of this type of fabric.


Aurangzeb holds court, as painted by (perhaps) Bichitr;
The canopy and the clothing are embellished
with block printed and painted fabrics
with block printed and painted fabrics

Documented Western knowledge of kalamkari and chintz goes back to the 16th Century. Ship’s records of the merchant adventurers of the 16th, 17th and 18th centuries show ample evidence of trade as well as descriptions of the technical processes.

Indian cottons were imported for European use as well as for barter in the Spice Islands (Indonesia and Moluccas) and for sale and trade in North Africa.

printed in multicolored floral motif, Metropolitan Museum Costume Institute

Block-printed Indian cotton textiles were imported into France during the second half of the 17th century.
The patterned cloth was all the rage in Europe not only because of the designs and wear ability, but also because of the richness of the colors. There was nothing equal to it in the West. The East India Company sent pattern books to India so that the craftsmen could copy designs popular with Europeans. This fabric was used for garments, bed cloths and furnishings. The word chintz has come to describe any cotton or linen fabric with bright floral patterns.
Hand painted scrolls existed alongside the fabrics that were made for European trade and those that were encouraged by the patronage of the Mughals. These scrolls made of cotton-depicted stories of the great Hindu epics and mythology. These scrolls might have been folk recital scrolls and devotional cloths.

An itinerant storyteller would recite a tale using the scroll as a colorful background for his narrative. Kalamkari are also used for display on outer walls of houses and temples during festivals.

Goddness mata ni pachedi, the Chitara community, Ahmedabad
Today in India, the block printed fabrics are still being made in Ahmedabad in the state of Gujarat and in Masulipatnam, located about 200 miles east of Hyderabad. The painted kalamari are made in Sri Kalahasti.
There is not much information how and when the art began there. In India where there is a legend for every event, there is a story. About 180 years ago a kalamkari workman from the Nellore district who was addicted to drink happened to visit Sri Kalahasti. He became drunk and while intoxicated revealed all the secrets of the kalamkari process.


